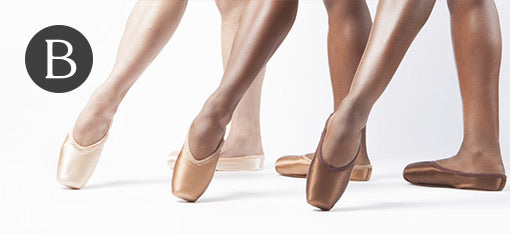


How to 3/4 Shank Your Pointe Shoes

To ¾ shank, or not to ¾ shank? That is the question. In this post, we’ll go through the basics of this popular technique for shank customization, and by the end, you'll hopefully be able to answer that question for yourself! As a reminder, customizing the shank of a pointe shoe is a big change and will significantly impact the fit and functionality of the shoe. We recommend that beginner and intermediate dancers check-in with their pointe instructor prior to making any changes to their shoes. We also recommend that dancers under 18 have an adult assist them with this process. I ruined my fair share of pointe shoes as a young dancer trying to ¾ shank them before knowing the correct method, but don’t worry: Allegro is here to help you avoid that experience!
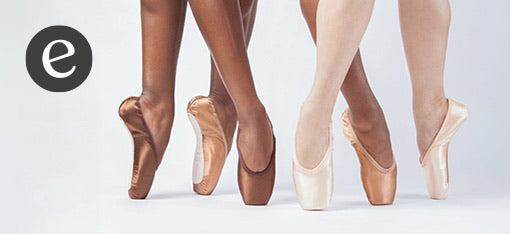
What is ¾ shanking?
Prior to customization, the shank of your pointe shoe runs nearly the full length of the shoe. To ¾ shank a pointe shoe is to remove or alter the part of the shank that runs from the arch of your foot to your heel. In this post, we will talk about removing this part of the shank; however, some dancers prefer other methods. Dancers may prefer to use a scoring tool to simply make a small cut across the shank to encourage the shank to bend at a certain spot, while others leave the shank as-is, but detach it from the shoe and reinforce it at the ¾ mark with paste or hand shank tacks/shoe nails. Many pointe shoe styles come with a shank already constructed to work like a ¾ shank, such as the Suffolk Spotlight.
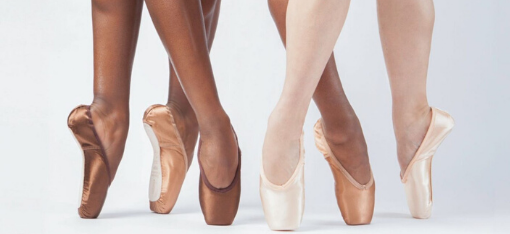
Can all pointe shoe styles be ¾ shanked?
Nope! Before cutting the shanks of your pointe shoes, make sure the style you wear is safe to alter. The construction of a pointe shoe varies brand to brand and style to style. Some styles are machine-stitched from the outsole through the insole, so removal of any part of the shank will cause the shoes to fall apart. Other styles use synthetic materials in the shank, which lose their functionality if manually altered.
Here are some styles that should not be ¾ shanked:
Russian Pointe Jewels Collection (Rubin, Rubin Radiance, Almaz, Sapfir)
Suffolk Prestige Collection (Reign, Regent, Royale - not currently available at Allegro)
Virtisse styles
Nikolay’s Super Triumph, Dreampointe, and Starpointe
Gaynor Minden pointe shoes
Bloch stretch satin pointe shoes
Merlet pointe shoes with STM shanks (Cloe ¾ M STM, Diva ¾ M STM)
Why ¾ your shanks?
The main reason for ¾ shanking a shoe is to increase the amount of support, so it can be helpful for a variety of different foot types. Dancers with high arches and/or mobile ankles may find it difficult to get a full shank to break in the right spot and prefer to ¾ in order to get support right under their arches. Additionally, dancers with more limited ankle flexibility and/or lower arches may also find it difficult to break in a full shank and prefer to ¾ for increased control over the shank and more help lifting up onto the box of the shoe. Our feet are all unique, and we all need something a little different from our pointe shoes. Some dancers simply prefer the pliability of a ¾ shank or simply the aesthetic. An additional benefit of ¾ shanking can be a longer life for your pointe shoes. If the shank is supporting your foot correctly, pressure may be taken off other areas of the shoe that, without the change, would be doing more work and thus break down more quickly.
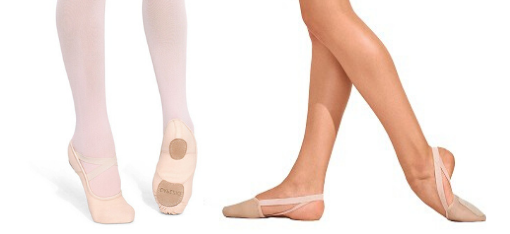
How do I ¾ shank my pointe shoes?
Here we go!
You’ll need a some tools to get started: 
- Cutting tool: Exacto knife, box cutter, wire cutters, strong scissors; whatever you’re most comfortable using
- Pliers
- Pointe shoe glue (optional)
Once you have your tools, you’re ready to start the steps:
- Mark where you plan to cut the shank, based on where your arch bends.
- Gently pull the insole away from the shank. We recommend only pulling the insole back enough to cut the shank, not taking it out completely.
- Detach the part of the shank that you plan to cut from the rest of the shoe by pulling. Some styles will have a thicker insole on top of the shank, while some have a thin insole. Be sure to pull away the shank, not just the insole.
- Remove any nails or staples from under the part of the shank you plan to cut away.
- Cut the shank! Be careful and make sure you are cutting the shank straight and in the correct spot. Pictured below are examples of different options for cutting, depending on the thickness of the insole.
- File the new end of the shank to your preference. For some dancers, the end of the cut shank will irritate the foot. Filing the end down so it has a more gradual edge can help.
- Pull the insole back and cut to size to cushion the edge of the shank. You can use pointe shoe glue, duct tape, or rubber cement to help keep this insole in place. Let any adhesives fully dry overnight.
- Dance!
1.  2.
2. 3,
3, 4.
4. 
5. 


6.  7.
7. 


There are so many ways to customize your pointe shoes. This is just one of many methods for getting your shoes to do exactly what you need from them. We’ll continue to post our favorite tips and tricks, so keep an eye out! In the meantime, remember that perfecting your pointe shoe starts with a thorough pointe fitting. You can book a fitting here.
If you ever have any questions or need advice on your shoes, you can send us an email or give us a call anytime!
Email: Senior fitter Alix at orders@allegrodanceboutique.com
Evanston store: (847) 733-8460
Barrington store: (847) 277-1009


